Perfect Pairing: Pantry clean-out
Way back when I was in college and living in the sorority we had a very exciting week once a semester called study treat week. I am not sure study treat week helped us study for finals, but I am pretty sure it helped keep on that college “insulation” that tends to happen. These were not healthy treats. They usually included pizza rolls and other frozen novelties as well as our house mom’s famous scotcharoos. It didn’t help the whole insulation issue when they were put out late at night. Recipe for trouble, all around.
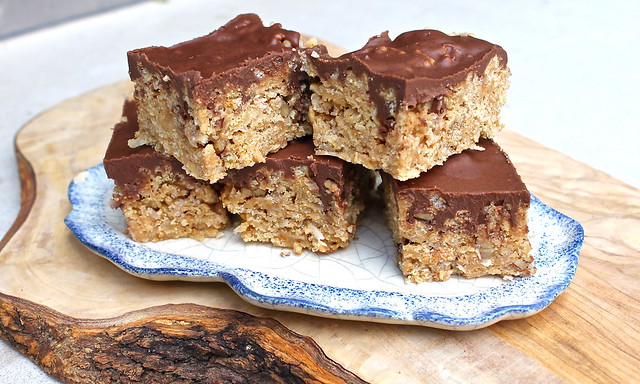
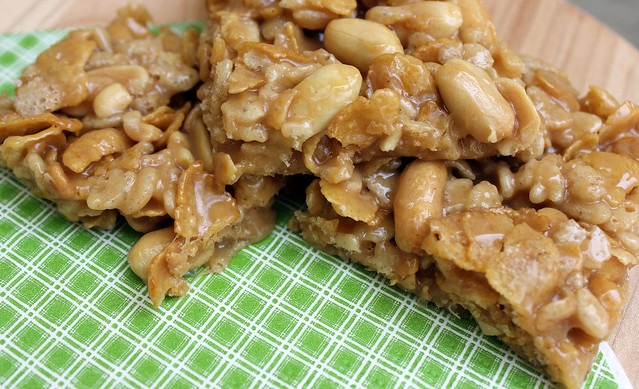
If you talk to any of my sisters about the food at the house I think ALL of them would mention the scotcharoos. They would also probably also mention the super weird jalapeño chicken that inexplicably had insane amounts of cream sauce and Fritos. College was healthy. Anyway, the scotcharoos. They were ridiculous. These Special, Special K Bars remind me of those college treats. You noticed the extra special in the name right? These bars are extra special because I added coconut and toasted pecans. Side note, when I was a little girl I named my cat Special. Poor cat.
I was on a mission to clean out the pantry when I made these, so when I ran out of Special K I added some rice cereal. Feel free to do that as well! Just another texture in the mix. If you don't have pecans, use whatever nuts you have in your pantry. Everything is topped with chocolate and peanut butter. Theyyyyyy didn’t suck.
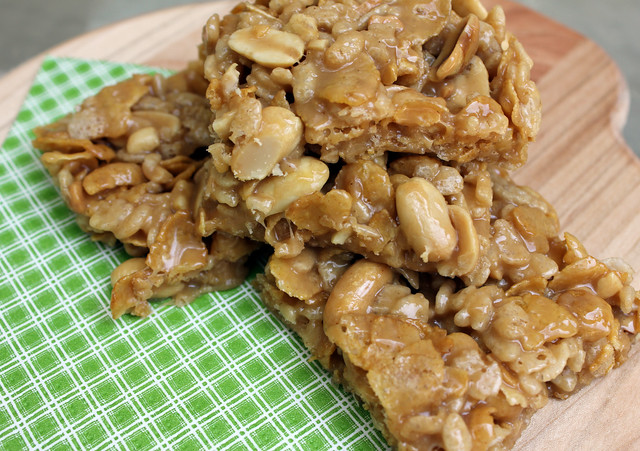
This is a great recipe to use the “sticky ingredient trick” I mentioned on this Payday Bar recipe post.
One year ago on Perfecting the Pairing: Burger Sauce
Two years ago on Perfecting the Pairing: Chilaquiles
Showing posts with label peanut butter. Show all posts
Showing posts with label peanut butter. Show all posts
Tuesday, July 29, 2014
Tuesday, December 3, 2013
Thai Pumpkin Soup
Perfect Pairing: Quick dinner
I am back to reality after an absolutely wonderful Thanksgiving vacation in San Francisco. It was great to spend time with family and my ridiculously adorable niece. I can't even stand the cuteness.
We had a delicious Thanksgiving meal filled with our family favorites. While that was great, one of the best meals we had in California was fresh cod and Dungeness crab my brother caught while deep sea fishing. We enjoyed the meal standing up over paper bags for easy cleanup. Amazing.
Are you tired of pumpkin recipes yet? I hope not, here comes another one.
A few of the ingredients in this soup might sound like an odd grouping, pumpkin, peanut butter, mango nectar. Trust me, it works. This soup is so incredibly simple. I decided to make this at 1 PM one day. I purchased the groceries, made the soup, took pictures, and was eating by 2 PM.
Thai Pumpkin Soup is really light and would be great paired with a grilled sandwich or salad. It is pretty low in calories and fat and has healthy fiber from the pumpkin. Good stuff.
One year ago on Perfecting the Pairing: Basil Slice and Bake Crackers
Two years ago on Perfecting the Pairing: Sweet and Spicy Spinach
Click "Read More" for the recipe...
One year ago on Perfecting the Pairing: Basil Slice and Bake Crackers
Two years ago on Perfecting the Pairing: Sweet and Spicy Spinach
Click "Read More" for the recipe...
Saturday, December 15, 2012
The Truffle Experiment – Peppermint Dark Chocolate, Pumpkin Gingersnap, and Peanut Butter and Bacon Truffles
Perfect Pairing: Styrofoam drying method
Ok, where do I start? My mom had some cute trays that she wanted to give as gifts, so we discussed what we could include on the trays. Truffles seemed like an obvious choice. Forget the fact that we had never made truffles, let alone tempered chocolate, or made candy in general. As long as we were getting after it, we might as well make three versions!
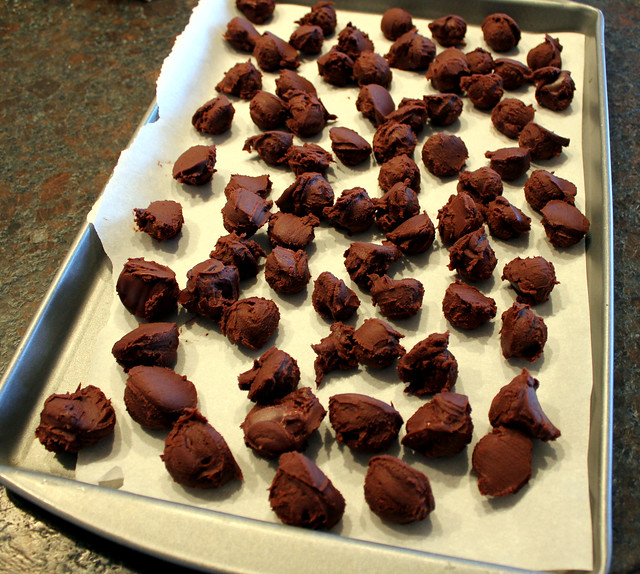
Next up were the dark chocolate versions with peppermint. After the inside of the truffle is made you have to let it chill until it starts to harden. Then, you scoop out the desired size and chill again. We wanted to make them on the small side, since you really just need a bite. This mini stainless steel spring scoop was a great time-saver. Scoop, drop, scoop, drop…. You get it.
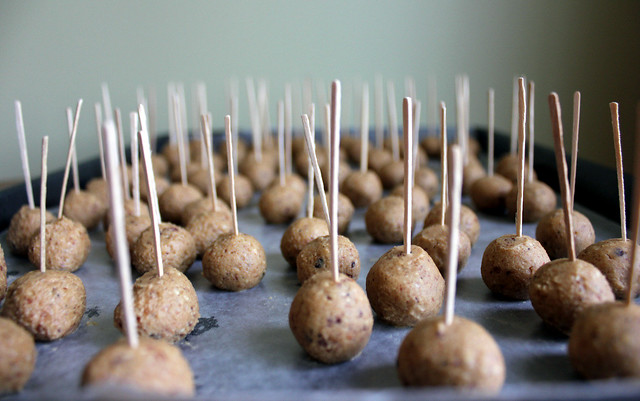
After another round in the freezer they are ready to be rolled into perfect spheres with the palms of your hands. Then you stick a toothpick in the middle of each truffle and return them to the freezer. The toothpick is part of my perfect pairing, “Styrofoam drying method”. Stick with me.
Next up is melting/tempering the chocolate. Tempering the chocolate is not 100% necessary, but it is supposed to make the surface shiny and the chocolate will “snap” when you bite into the truffle. I was stationed right by the chocolate over the double boiler so I could remove it as soon as it got to 110 degrees F. For some unknown reason when I took it off the heat the temperature kept going up. I think it got up to 135 or something. I blame the thermometer. So, for the record I did attempt to temper the chocolate but I’m pretty sure I screwed it up. Either way, it worked out just fine. My truffles may not snap in your mouth, but I’m over it.
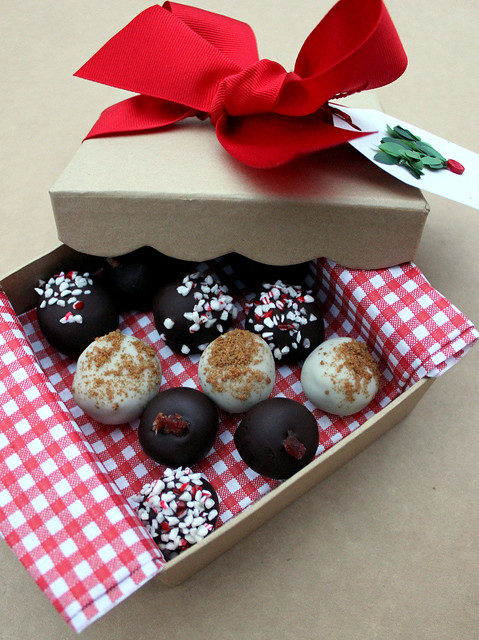
We also ordered these cute confection boxes.
I decided on Peppermint and Dark Chocolate, Pumpkin Gingersnap, and Peanut Butter Bacon truffles. I made a quick trip to World Market and found some items like pre-chopped peppermint chips, adorable mini liners to hold the truffles, and all of the necessary chocolate. We were ready to open Willy Wonka’s.
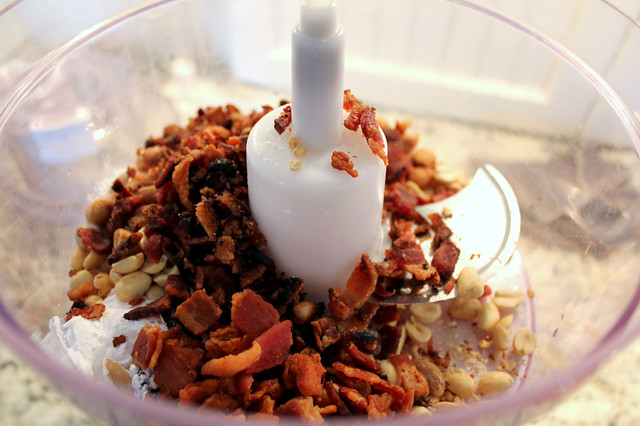
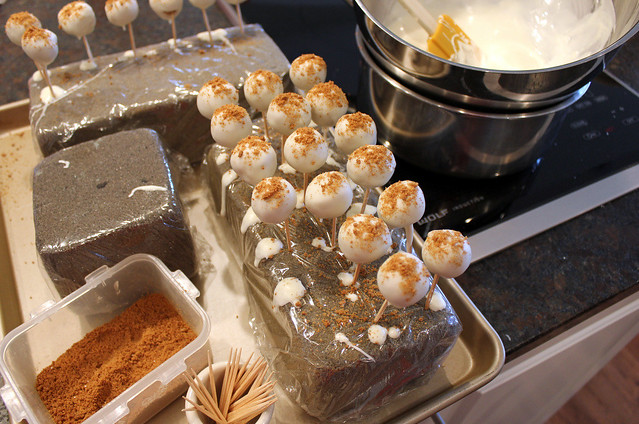
There are quite a few steps involved in the making of truffles, and they do take quite a bit of time with all of the chilling, but they were actually very easy, and dare I say… fun? The pictures below show the various steps for all three versions.
We kicked things off with the Peanut Butter and Bacon truffles. I mean, how can you go wrong?
Some of the bacon was set aside to top the truffles. We ran into some issues with people snacking on it.
Time to dip! My mom is so smart. She came up with the idea to cover Styrofoam in plastic wrap to hold the drying truffles. Brilliant. The plastic wrap keeps the foam clean so you can use it again next year. Holding the toothpick I would dip the truffle into the melted chocolate (or almond bark for the pumpkin version) until it almost completely coats the truffle. I left a little space at the bottom so it did not stick to the toothpick and so they would stay put and not roll away. Then you stick the toothpick into the foam. We set the blocks outside in the chilly air until they hardened. Then you slip the truffle off the toothpick and they can be gently stacked in a container and frozen until ready to use.
My mom came up with another great idea for displaying the truffles on the small tray. She was afraid the liners would slide around so she put a dot of chocolate on the bottom of the liner and stuck it to the tray. It worked beautifully.
Since we made about 180 truffles we had to come up with innovative ways to give them away.
The truffles may not be as easy as the Chocolate Covered Peanut Butter Pretzels, but I think we may have found a new tradition. They are delicious and so stinking cute! I love them and I love giving them away.
Wednesday, December 5, 2012
Un-Recipe Files – Chocolate Covered Peanut Butter Pretzels
How could Chocolate Covered Peanut Butter Pretzels be bad? Answer: Not possible.
A few years ago I participated in a cookie exchange and had the brilliant idea to make chocolate covered peanut butter and caramel pretzels. Basically I spread a little peanut butter and melted caramel on pretzel twists and then dipped the whole thing in chocolate. Holy mess. They tasted great (how could they not?) but it was not worth the time and mess.
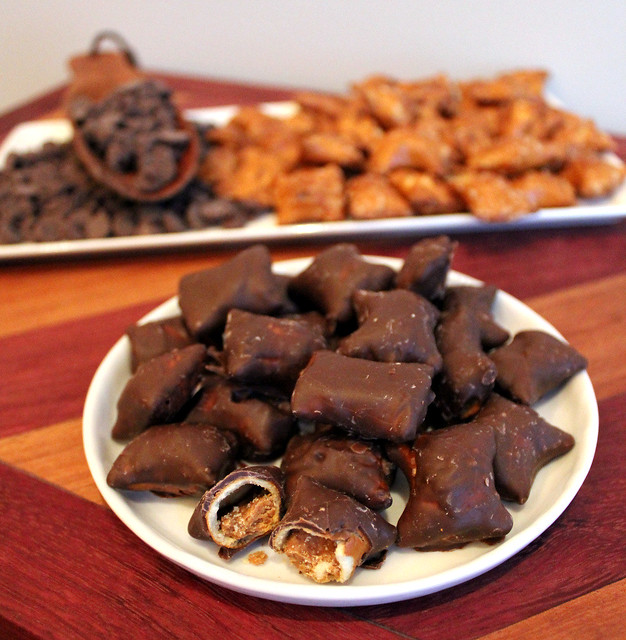
Fast forward a few years and I came up with this version. The store bought peanut butter pretzel nuggets make this process so easy. My mom and I made these over the Thanksgiving weekend to have for parties and gifts throughout the holiday season. They keep really well in the freezer so they can be made well in advance.
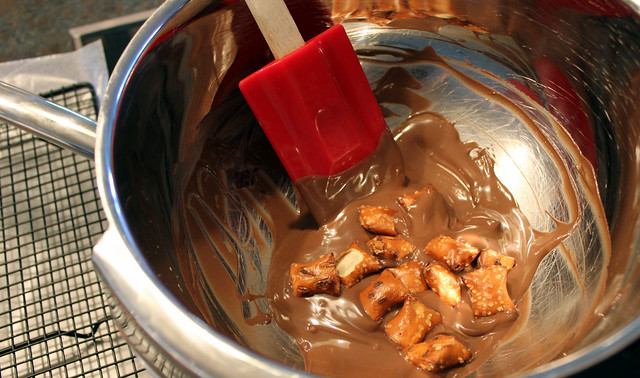
I melted the chocolate in a double boiler (metal or glass bowl over simmering water). I used chocolate almond bark and added about a teaspoon of shortening (1 tsp for every 6 oz of almond bark) to thin it out a little bit. You could also use semi sweet chocolate chips or dark chocolate.
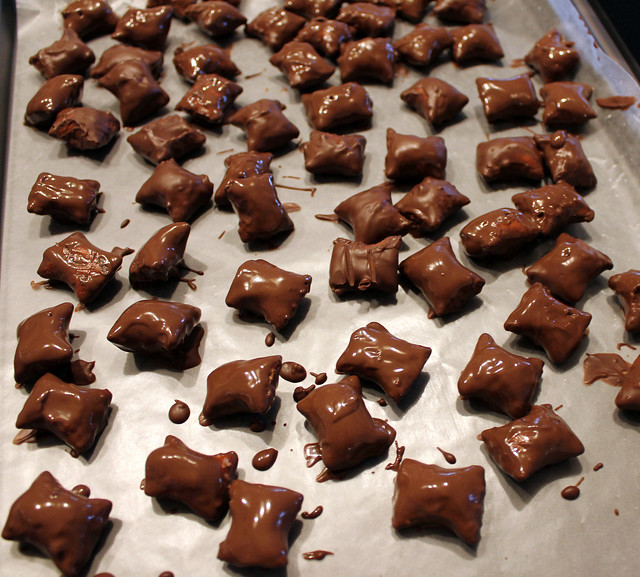
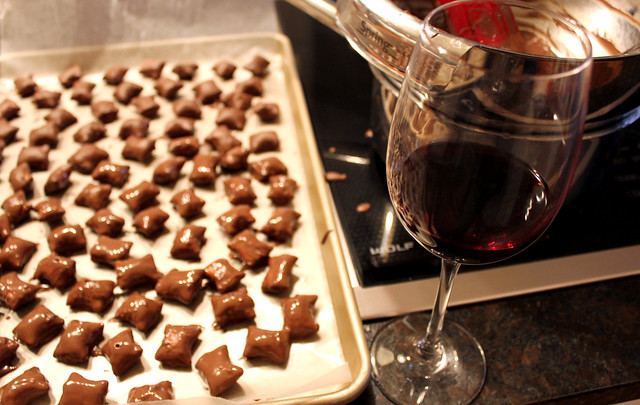
Once the chocolate melted I threw in a handful of the pretzels and rolled them around until they were coated. I fished them out with a fork and let them harden on waxed paper. You can see in the first picture that I started out using a wire rack. That really did not work out because they stuck to the rack. Waxed paper is the way to go.
Wine is optional, but recommended.
We used the great outdoors to finish the chilling/hardening process. Make sure they are completely hardened before putting them in a bag or container.
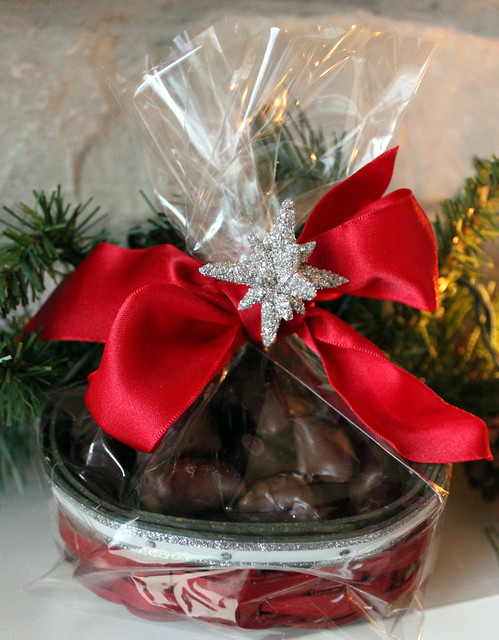
I think these are going to be a new holiday tradition. They were so easy and delicious. They are the perfect thing to add to a cute little basket or dish to give as a gift!
Monday, October 1, 2012
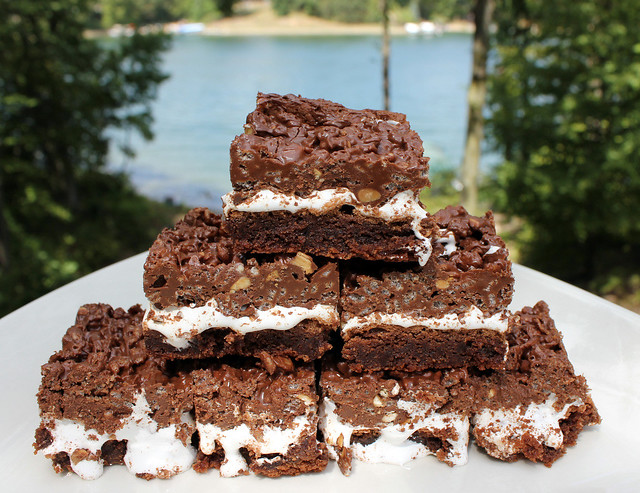
Lake House Brownies
Perfect Pairing: Eight cup microwaveable bowl
Lake House Brownies are kind of a big deal in my family. I am sure they had a different name at one time but we started calling them Lake House Brownies a long time ago because we always seemed to have them at the lake and the name stuck.
My aunt Pam started making these years ago to bring to the lake in the summer. Everyone always lost their mind over those brownies. We pretty much told Aunt Pam that she was not allowed back unless she came with Lake House Brownies. Not really. Well, kind of.
My brother had his bachelor party at the lake with about 30 guys. No joke, 30 guys stayed for the weekend and consumed crazy amounts of bacon. There was probably beer involved, but that is just a good guess. I just remember hearing about the bacon. Anyway, my aunt was driving through and brought a pan of brownies. She hand delivered them to my dad and told him that he better hide the pan. I think the last time she brought them my dad never got a chance to get one. Well, my cousin Scott heard there were Lake House Brownies under the bed and pulled them out for everyone. Sadly, my dad never got one. It is kind of a sore spot to this day. You really have to watch Scott.
I wanted to take a picture of the brownies this summer for the blog. Apparently I waited a little too long. When I looked in the refrigerator this is what I found. I guess no one wanted to be responsible for taking the last piece.
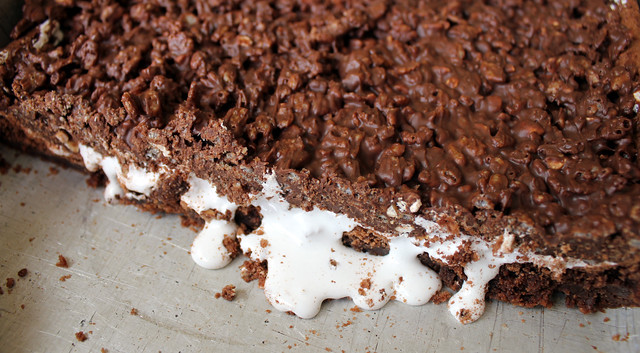
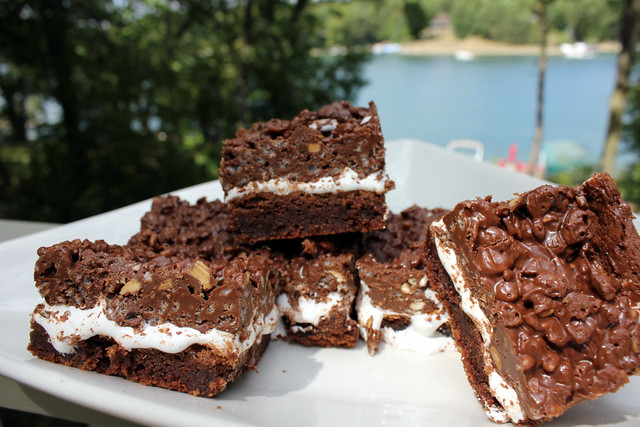
What I am trying to say is that these brownies are really good. Insanely good. How could you go wrong? Homemade brownie bottom, marshmallow cream, and a topping of chocolate, peanut butter and rice cereal. Amazing.
The Perfect Pairing for this recipe is an eight cup microwaveable bowl, like the one by Pyrex. This seems like such a simple tool but it is one thing I would not be without in my kitchen. It is great to melt the chocolate and peanut butter, and is large enough to stir in the rice cereal. It always cleans up easily in the dishwasher. Gotta have it.
Wednesday, August 15, 2012
Payday Bar Cookies
Perfect Pairing: Sticky ingredient measuring method
My mom has been making these bar cookies for years. The stained recipe card says that it came from Natalie, who is a friend of my mom, but I don’t know the original source. I love stained recipe cards and cookbooks. You usually know you have located a good recipe in a cookbook if the pages are stuck together and splattered with something.
This dessert is named after the candy bar, they are similar, but the bar cookie is better in my opinion. It is a great recipe because the ingredients are simple and easy to remember. Most importantly, they taste pretty fantastic. I think if a person set their mind to it they could have the whole thing done in 7 minutes.
I would keep these in the refrigerator if you want them to last awhile, but they definitely need to be eaten at room temperature so that they are gooey. Boy, are they gooey.
The Perfect Pairing for Payday Bar Cookies is the sticky ingredient measuring method. When you need to measure something sticky like peanut butter, syrup, molasses, etc. just spray the measuring cup with cooking spray first and it will come right out without any effort.
Saturday, June 2, 2012
Un-Recipe Files – Homemade Nutty Bars
Remember Little Debbie Nutty Bars from your childhood? Perhaps you were the kind of kid that separated the layers and ate each one individually in tiny bites to make it last. No? Ok, that was just me.
We never had Little Debbie treats in our house growing up, so if I somehow got my hands on one I savored it. My brother used to joke that the only “sweet” things in the house were chocolate chips and those silver BBs used to decorate cookies. He may have been exaggerating a bit.
My mom was an amazing cook and would make us homemade apple pies, cookies, etc. which are 10x better than Little Debbie snacks. I am actually so glad we did not grow up with any of those things.
Anyway, even though those Nutty Bars are tasty they are full of nasty stuff. Check out the ingredients label.
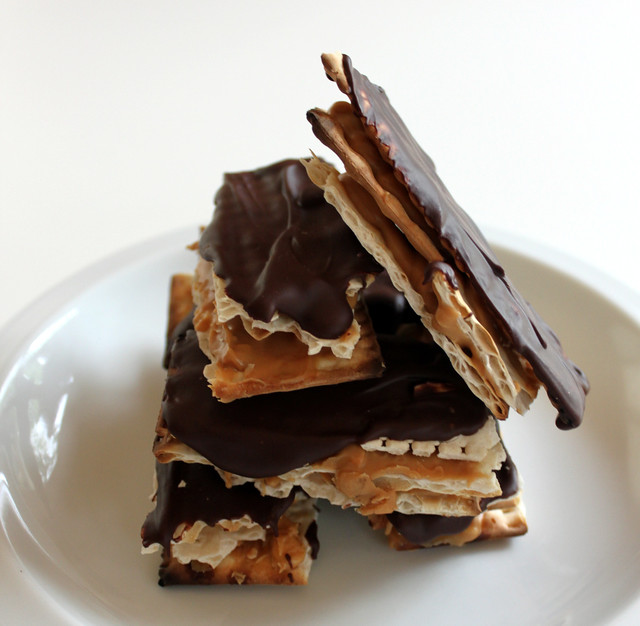
I saw something online about making your own version at home, and decided to give it a try. I used a good quality dark chocolate, crunchy peanut butter, and matzo crackers. They were pretty tasty!
To make your own Nutty Bars….
- Snap the matzo crackers into strips. I tried every which way to make these even but always ended up with jagged pieces and a whole lot of crumbs. I decided I liked the rustic look.
- Stack up three pieces of cracker that look about even in size.
- Melt the chocolate over a double boiler, or in the microwave.
- Microwave a bowl of crunchy peanut butter for 30 seconds to make it spreadable.
- Using a butter knife, spread the peanut butter between the crackers and sandwich them together.
- Top off each cookie with a layer of chocolate.
- Refrigerate until just set.
- Serve at room temperature.
Subscribe to:
Posts (Atom)

